How I Created a Blog using Ghost
Want to know how to create a blog using ghost? Don't worry I got you. In this guide I have shown in four easy steps how to setup your Blog using Ghost.

I have long wanted to have my own Blog; blogging is something that helps me mentally. One day I decided to have and own my blog, I had a YouTube channel so decided to have a blog similar to it. I created this blog which you are reading right now. So, here I will tell you step by step how I did it and which platform I used. I made some mistakes in the beginning which definitely I would not want you to do it. So, let's begin.
Step 1: Select a Niche
Before starting anything, you need to know what kind of blog you would like to have, you can take and brainstorm ideas from ChatGPT, Copilot, Google AI Studio or any Chatbot that are available on web. Copy the prompt below and paste it in any of above for some suitable answers.
Hey, I want to start a blogging give me Top 50 niche ideas. Keep in mind the trending and high in search volume topics.

Step 2: Select a Domain Name
Now, you must have niche in your mind, we can proceed with finding a correct domain name that resonates with our niche. Here, you again can take help from ChatGPT, Copilot or Google AI Studio. I would recommend shortlisting at least five names because sometimes the domain name you are selecting aren't available. Some guidelines for domain names shortlisting are as follows:
- Domain names should be preferably of one word.
- It should reflect your niche.
Step 3: Purchase a Domain
After shortlisting names for domain, you can check their availability at GoDaddy or Hostinger, I personally use Hostinger and I would recommend you the same. Some guidelines for purchasing domain names are as follows:
- Go for .com or .org.
- Always purchase the email support with it as it would help your audience to connect with you in future.
Step 4: Time to Make Ghost Blog
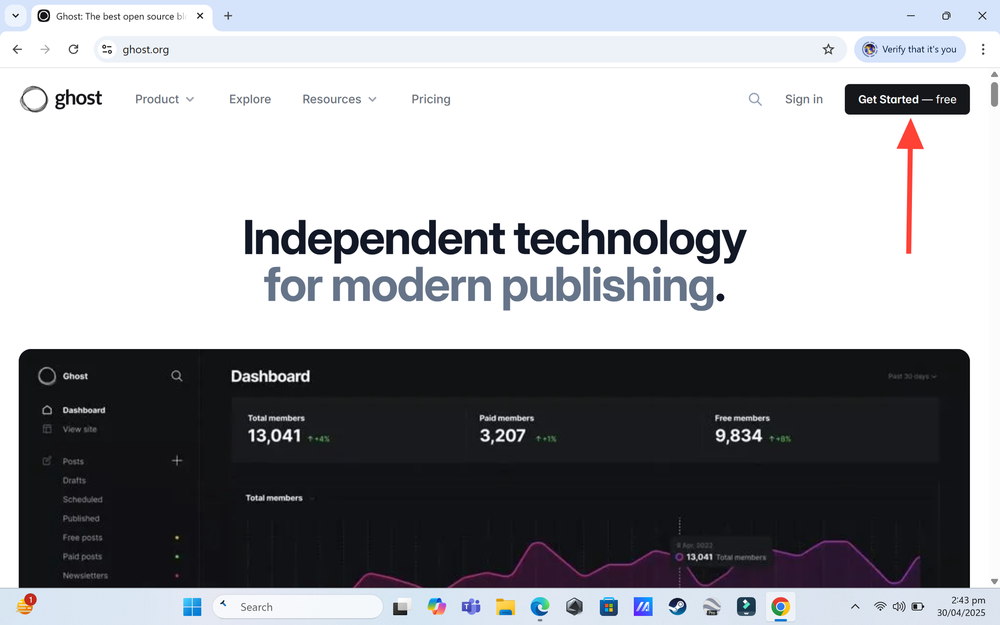
Open ghost.org in your search engine and then click on get started for free.
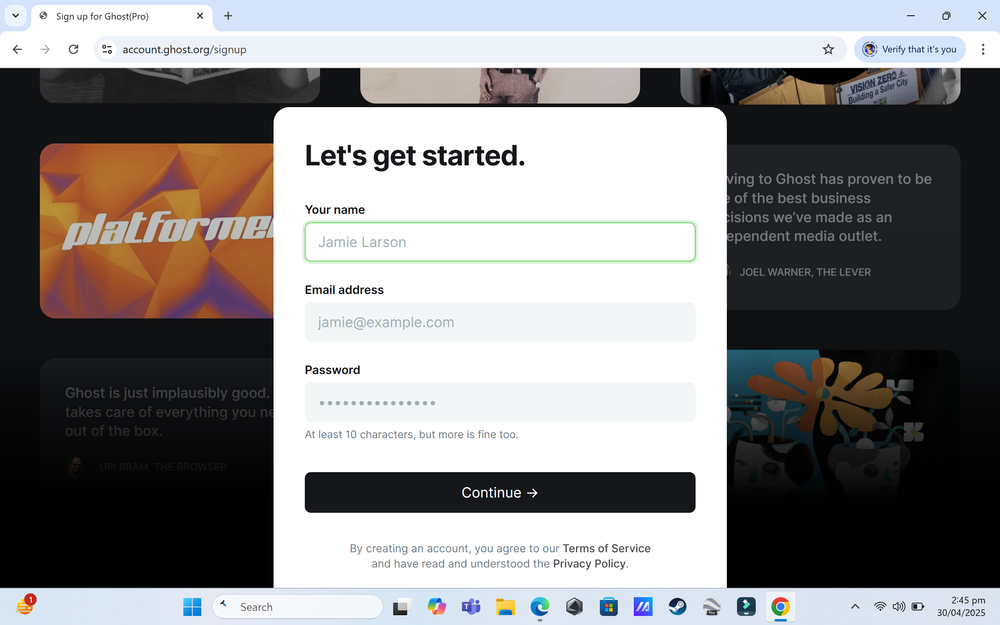
Enter your details as you desired and then click continue.
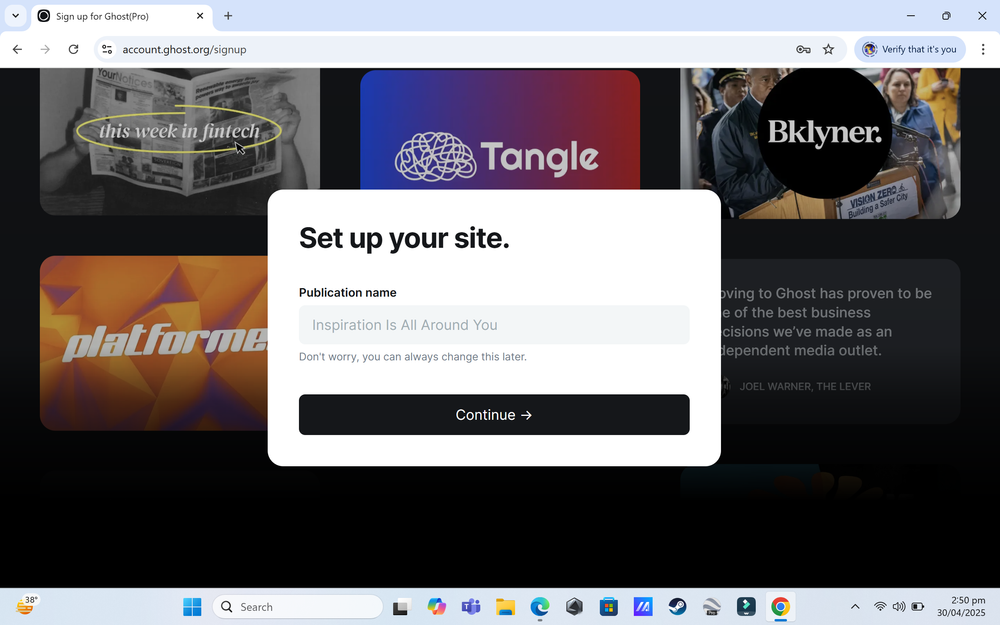
Enter your Publication Name.
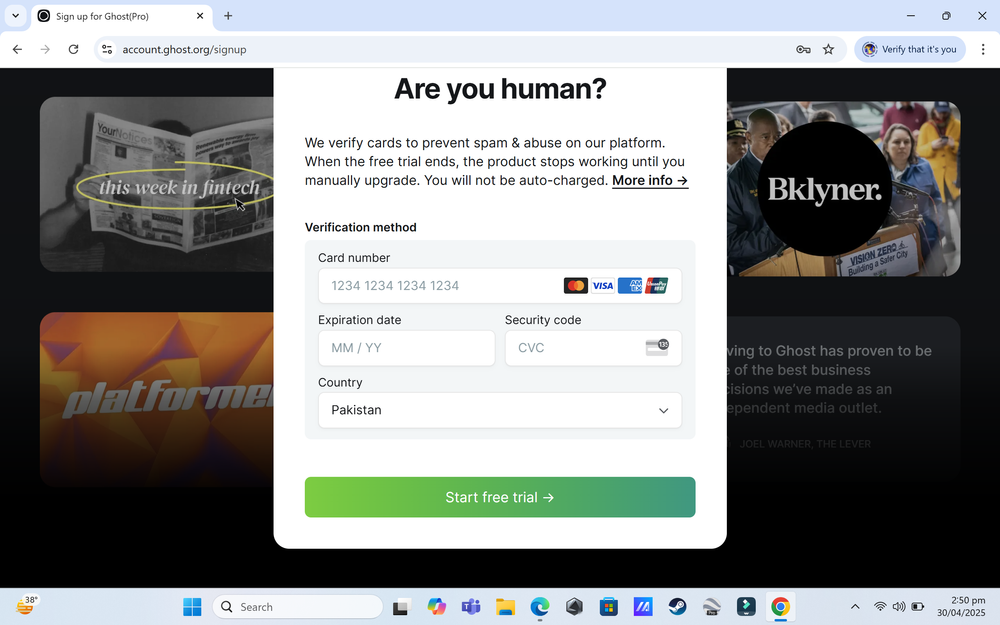
Enter your card details, don't worry it will not charge you. It gives you 14 days free trial after which it will ask you if you wanted to continue subscription.
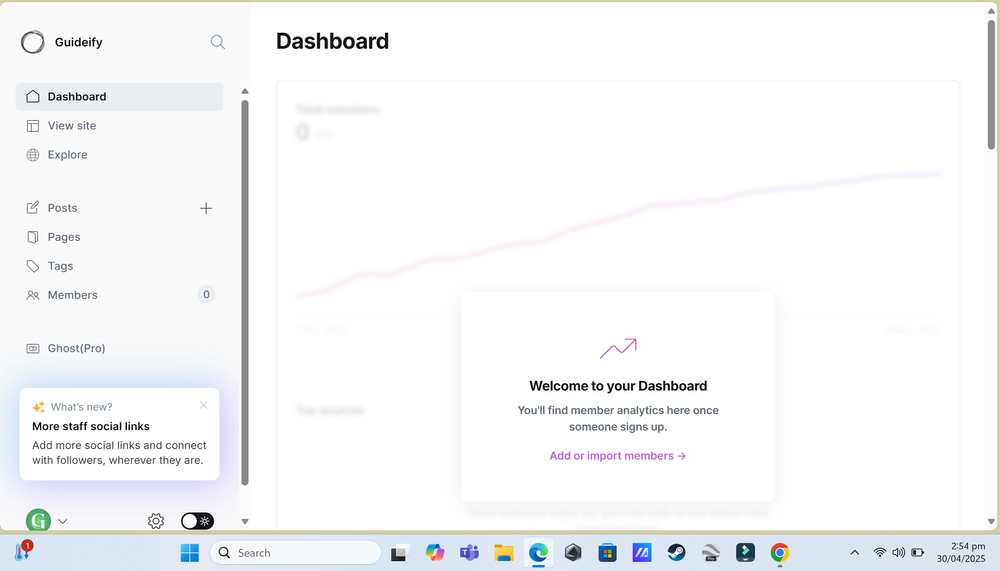
You will see this interface once you start your free trial.
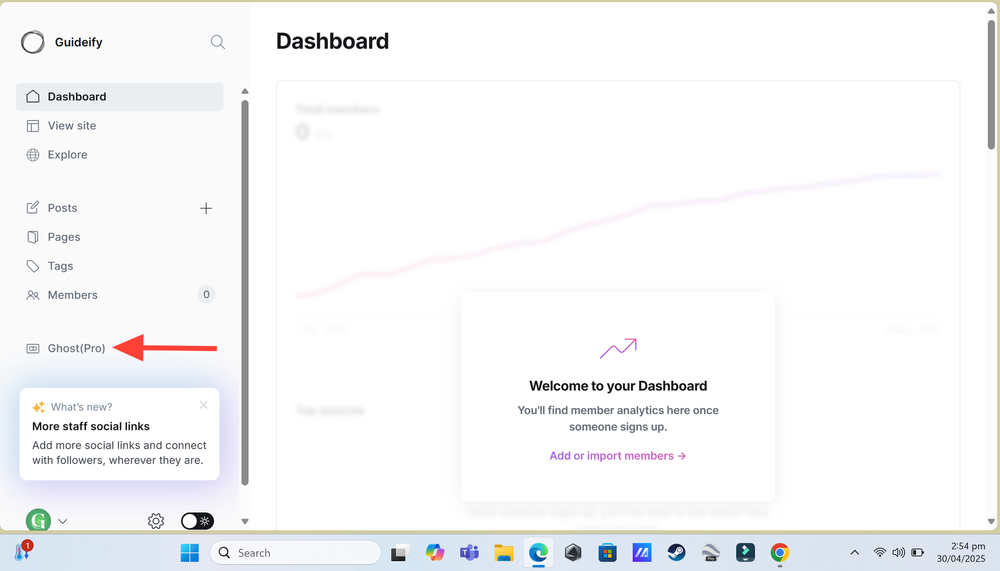
Click on the Ghost(Pro).
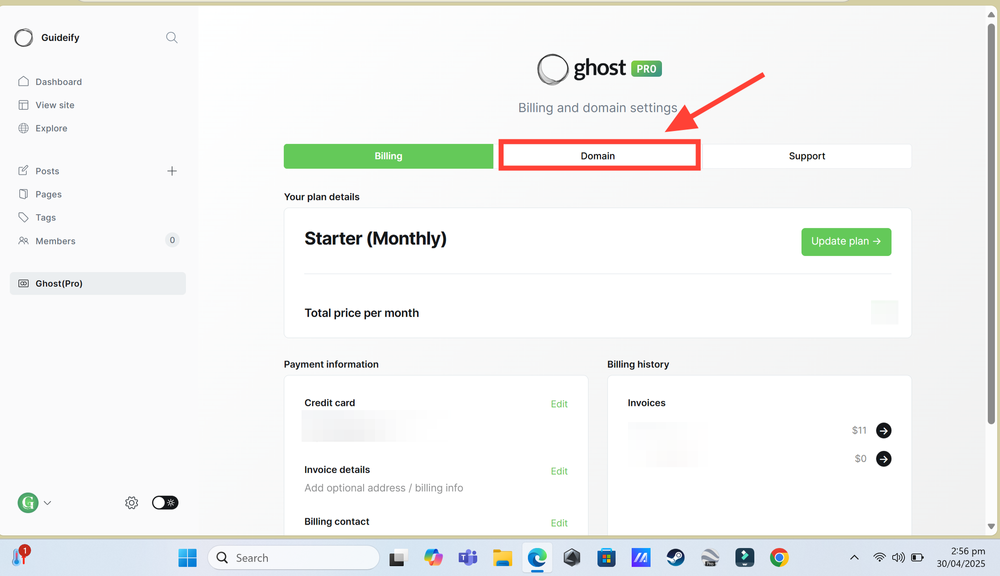
You will see this interface. You will have your free subscription number of days visible here.
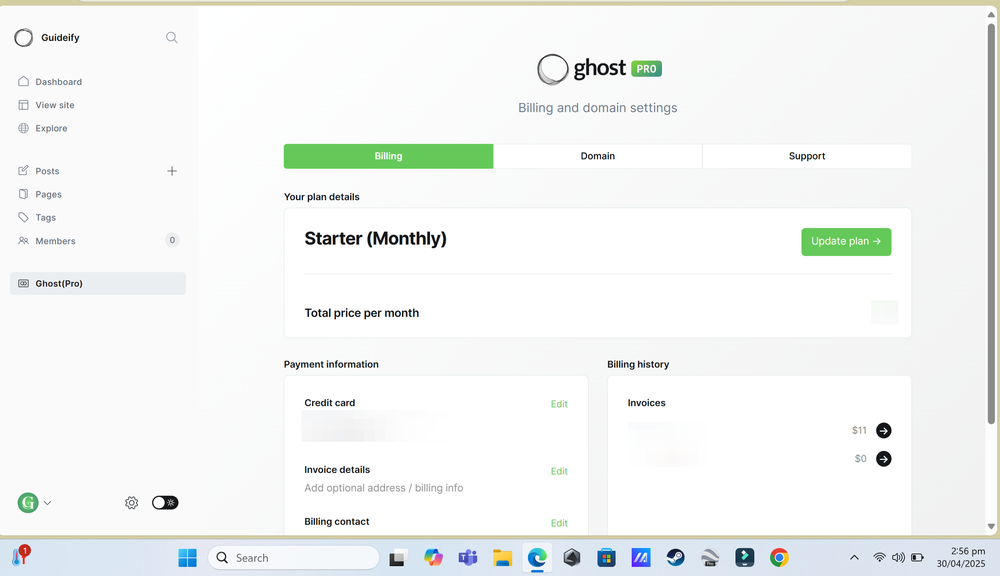
Now, click the Domain.
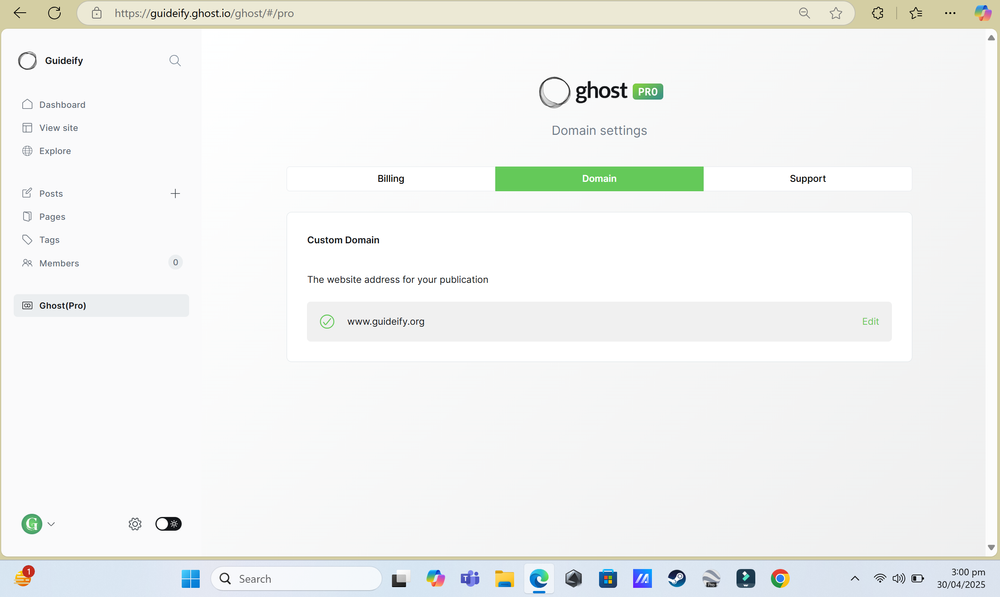
You will have to add your Domain which you purchased in Step 3. It will take some time for Ghost to verify and activate it so don't worry.
There you go, you are all set using your ghost blog. I hope it was helpful to you. Happy Blogging.


Comments ()